Creating Tinkerbell (pt 2)
If you missed the first half, you might want to see it first.
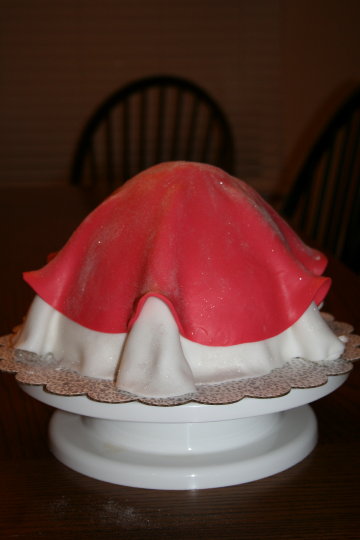
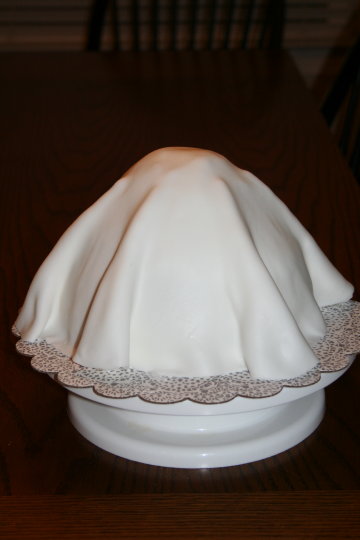
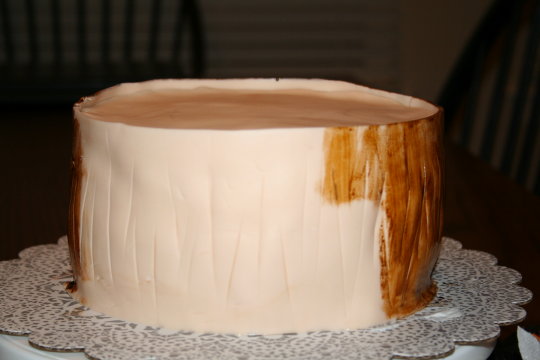
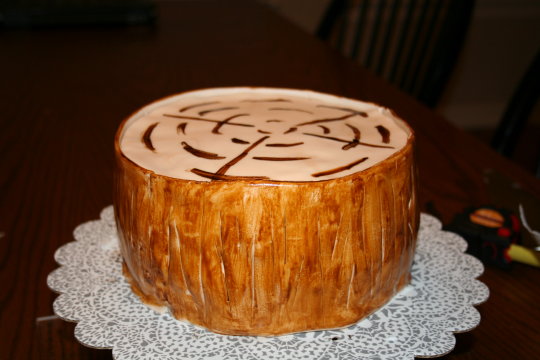
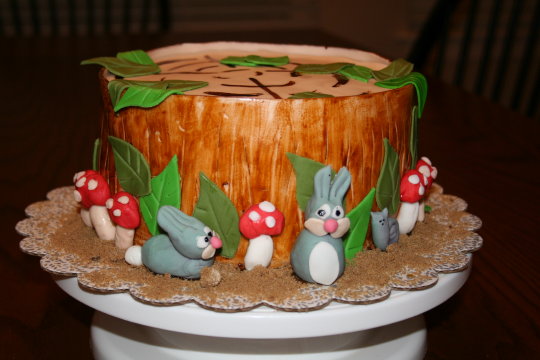
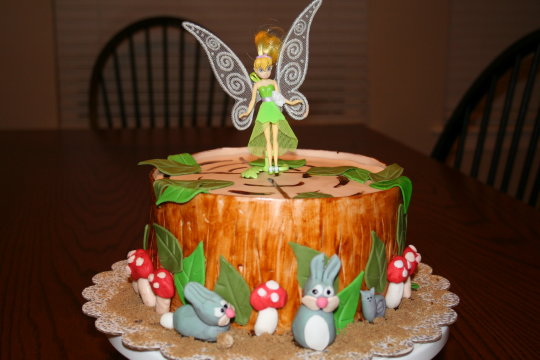
OK, I have to admit it was getting late and I forgot about taking pics for a minute. But anyways, I rolled out the remaining beige fondant and cut 2 pieces to wrap around the cake. I then scored the outside of it using a knife, making various vertical cuts to give the appearance of bark. Once it was slightly dried, I painted the outside using watered down brown gel.
Then I added age rings to the top.
And added rabbits, a snail, and toadstools. All of these were made by coloring fondant and then just modelling them like using clay.
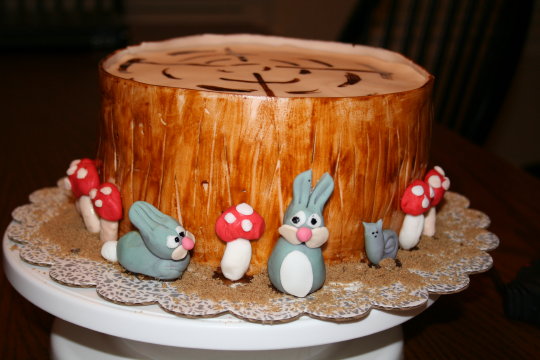
Next I added leaves, made from 2 shades of green fondant, cut with a leaf shape cutter, and scored (veined) using a toothpick. I stick both figures and leaves to the cake with special "glue" - water or clear vanilla work equally well.
Last but not least, we add a plastic Tinkerbell from the "Disney Fairies" collection ($6 at TRU). She liked to lay down quite a bit. I suppose I could have actually stuck her into the fondant top, but I didn't feel like cleaning fondant off her feet.
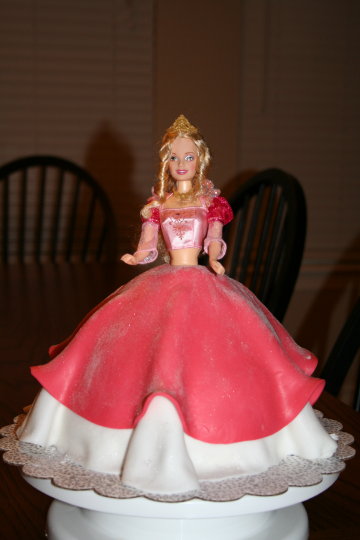
Voila! Completed cake!
I really enjoyed making both cakes, but I was particularly pleased with how the Tink cake turned out. I took the basic idea from a cake book my brother gave me for Christmas and just modified it to suit me.
One of the toughest things I've had to learn when decorating was to be creative! I constantly remind myself I can do whatever I want, and it doesn't need to be exactly like something I've seen. And since I figured that out, I've started enjoying making cakes even more!
posted by KB @ 5:42 PM
5 comments
![]()